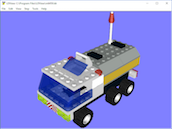
 This shot was taken with the settings set to values which produce a traditional
3D image. Lighting is turned on, and edge highlights are turned off. The
seam width is set to 0.50, and primitive substitution is enabled.
PNG
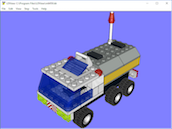 This is the same shot, but with edge highlights turned on, and seam width set
to 0.
PNG
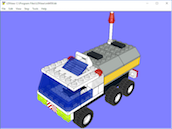 Here, subdued lighting has been enabled.
PNG
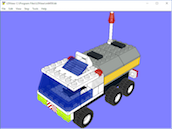 In this shot lighting is disabled completely.
PNG
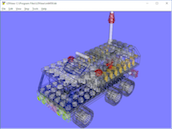 Here is a shot with wireframe enabled. This gives you an idea of the huge
number of polygons that make up even a relatively simple model.
PNG
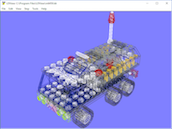 The same shot, but with lighting disabled.
PNG
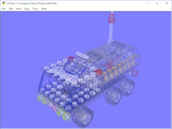 Same as a above, but with wireframe fog enabled.
PNG
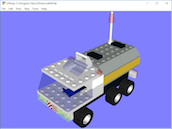 Here, the settings are the same as the first shot on this page, except that
stipple transparency has been enabled.
PNG
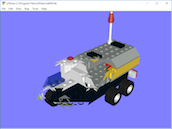 Here, I have used the cut-away feature to cut away part of the model in order
to look inside.
PNG
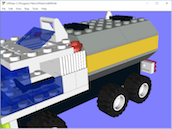 Here, I have zoomed in some to make the seams between the pieces more visible.
This was taken with a seam width of 0.50.
PNG
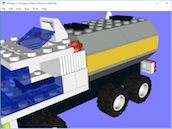 The same shot, with primitive substitution and curve smoothing disabled. Notice
that all the curved surfaces are now faceted.
PNG